Homeoffice became more popular during the pandemic. As a result, I started with my laptop and just sitting at the kitchen table. However, it was not the best experience for my colleagues and me. In my opinion, the audio setup was lacking. Therefore, upgrading to an XLR microphone will sound more professional or like a podcaster.
Starting with the old audio setup
After almost two years of using a corded USB-Headset 1, I wanted something new. In other words, I want to improve my voice quality, generate more presence in ZOOM-Meetings 2, Slack-Calls 3, and other now so popular conference call software. Therefore, I decided to split the input and output.
Get some inspiration from YouTube clips
I started to watch several YouTube videos for inspiration. For instance, I liked the clips from Tom Buck 4. As a result, I decided to get an XLR microphone along with an audio interface. In other words, I started to like the Rode PodMic 5 along with the Røde PSA1 6 and wanted to mount it at the table.
But my workplace is also my bedroom, with limited space. Therefore, I came along with an IKEA hack using a table 7 along with a closet 8.
Starting with the boom arm installation
I mounted the XLR microphone using the included equipment and used a hole saw 9 to drill a hole into the table. Besides, I needed to disassemble the table to fasten the mount. So, I used a multifunction tool 10 to add some more space for the union nut.


Optional step: Integrate XLR microphone cable into boom arm
Further, I got inspired by Mike Russell 11. Also, which showed me how to integrate an XLR cable into the Røde PSA1 6 plus another video 12 explained to me how to assemble the XLR cable.
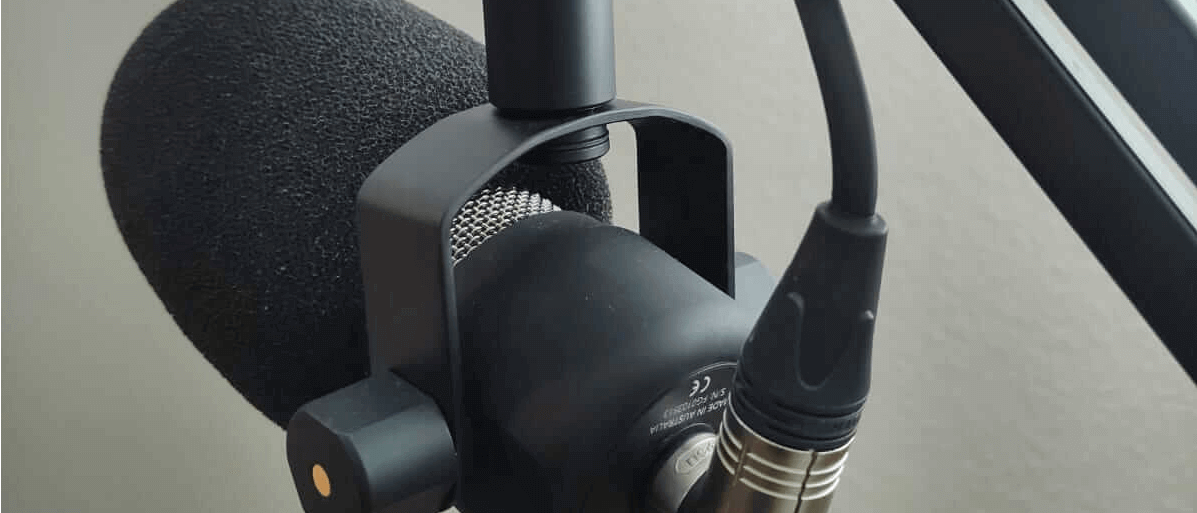
Compact XLR microphone – The Røde PodMic
Doing daily conference calls. Above all, I strive for the best audio quality. I’m mostly sharing my screen. Therefore, a good-sounding microphone more impactful than video quality. Besides, to reduce plosives I added a pop-filter 16.
- Audio example with pop-filter (with eq-enabled)
- Audio example without pop-filter (with eq-enabled)


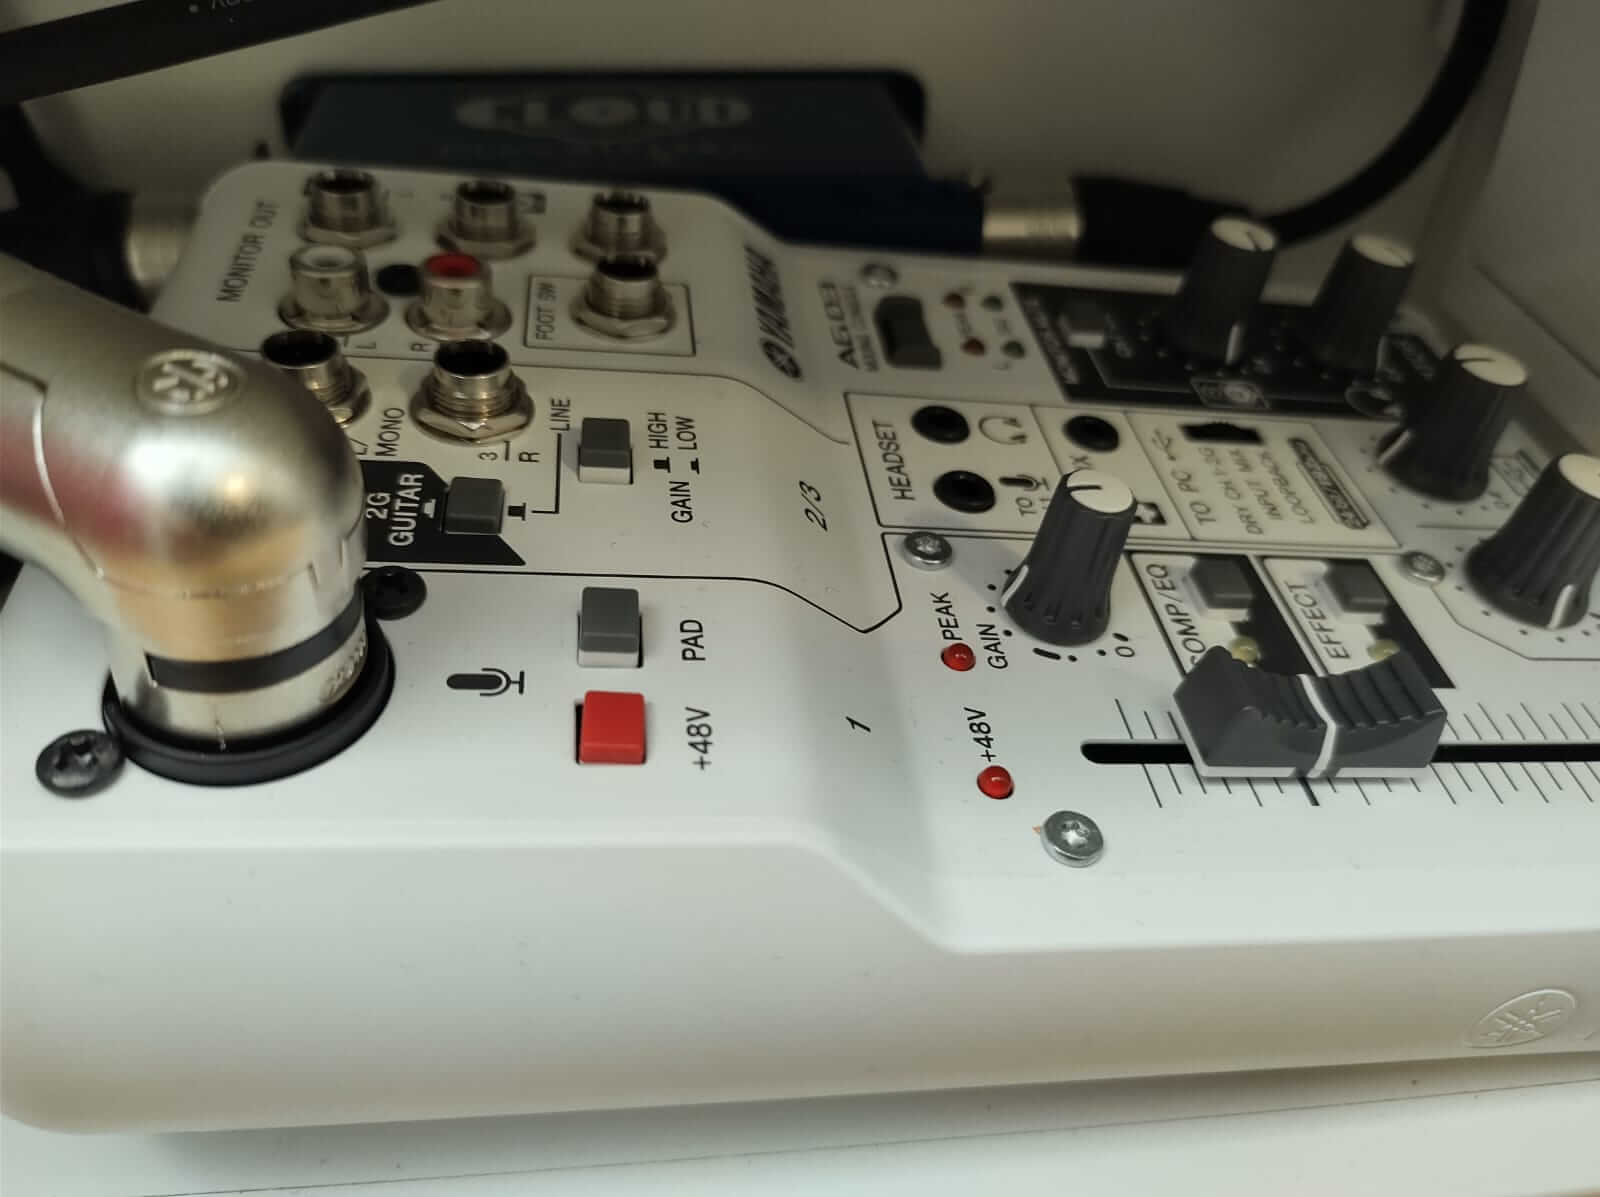
Picking an audio interface
An audio interface is needed to get the microphone connected to the laptop. I had three requirements for the interface. Firstly, I want a loopback function to mix the XLR microphone and pc-sound into one source. Secondly, the audio interface should operate as a configurable standalone equalizer. Also, it needs to fit into the closet with a microphone connected. I came along with the Yamaha AG03 17 as a perfect fit for my requirements.
Configure the equalizer to sound like a Shure SM7B 18
I connected the audio interface to my laptop and installed the Yamaha AG DSP Controller software 19 to configure the equalizer and compressor settings. I did not find good examples to do this for my setup, but there are always some YouTubers 20 who did something similar. He set up an equalizer for the GoXLR Mini 21. However, I translated the settings to match the Yamaha AG03 17.
Yamaha AG DSP Controller compressor and equalizer settings for Røde PodMic


- Audio Example EQ / no EQ
Unlock the full potential of the PodMic using a Cloudlifter CL-1 22
While everything works fine without a preamp, I had to be very close to the microphone and max out the volume and the gain in the audio interface. Fortunately, there is a solution to it. With the help of the Cloudlifter, it adds up to 25 dB of clean gain to the microphone output. Therefore I was able to reduce the volume and gain in the audio interface to normal. Besides, while it is not very noticeable, there is a slightly better audio quality resulting while the audio sounds more dynamic.


Conclusion
In my article, I guided you to my journey of how I upgraded my microphone quality by replacing my USB microphone with a dynamic microphone while still having an ergonomic working space.
- Logitech 960 USB Computer Headset
- Zoom
- Slack
- YouTube – Tom Buck – Make Your Rode PodMic Sound Like a Shure SM7B
- Røde PodMic
- Røde PSA1
- IKEA NORBO
- IKEA BESTÅ body
- Wolfcraft Hole Saw
- Dremel 3000
- YouTube – Mike Russell – Røde PSA1 Cable Management
- YouTube – WORKSHOP XLR NF-Kabel löten
- Neutrik NC3FRX
- Neutrik NC3MXX
- Sommer Cable SC-Stage 22
- Rode WS2
- Yamaha AG03
- Shure SM7B
- Yamaha AG DSP Controller Software
- YouTube – DanielVidalesYT – Best EQ Setting For The Rode PodMic On The GOXLR
- GoXLR Mini
- Cloud Microphones Cloudlifter CL-1
